Project Management
Table of content:
1 - Website Developement1.1 - Download a template 1.2 - Make changes in the website
2 - GIT
2.1 - SSH key 2.2 - Clone your repository 2.3 - Push my HTML website 2.4 - Add YAML file
Website Deveopement
this part of the section is about how i made my HTML website or rather how i edited a free ready-made templates of website available
online.
in the fab academy it is necessary to document all your work during weekly assignments and final project. In order to document, we need to
have a website. I do had an option to make changes in the markdown template provided by the academy, it probably would have saved me a lot
of frustration and time, however i decided to explore HTML.
<<<---DOWNLOAD A TEMPLATE--->>>
download a free/paid HTML template from any website online. sites like templatemo.com and free-css.com provide live demo feature so you can
first see for yourself how the website looks/works and then download the template, it is generally in zip file format. So a template is
folder containing all the files necessary for a website to function. In my case the folder will have a .HTML file, .CSS file, .js file and a
folder containing all the images, videos or documents that are inside the website.
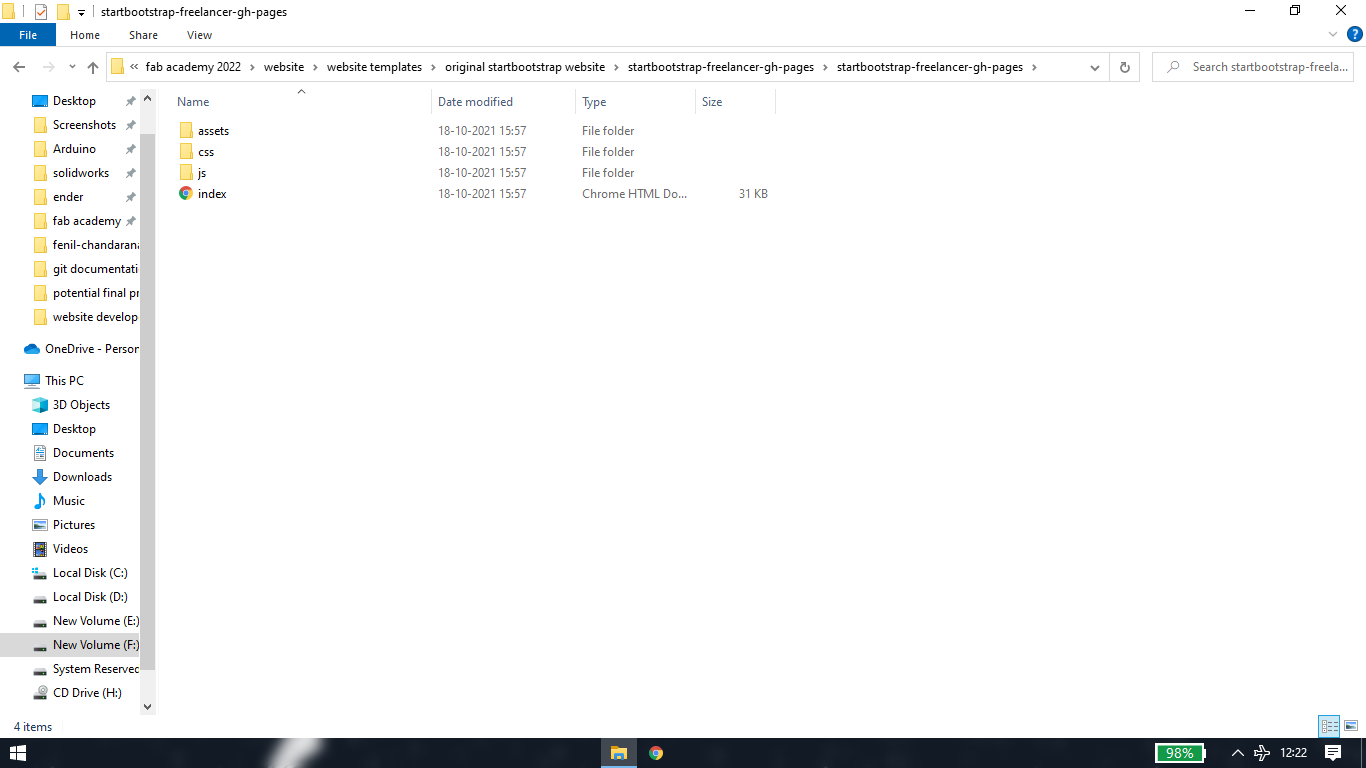
this is the link of the original template i downloaded and edited: https://startbootstrap.com/previews/freelancer
<<<---MAKE CHANGES IN THE WEBSITE--->>>
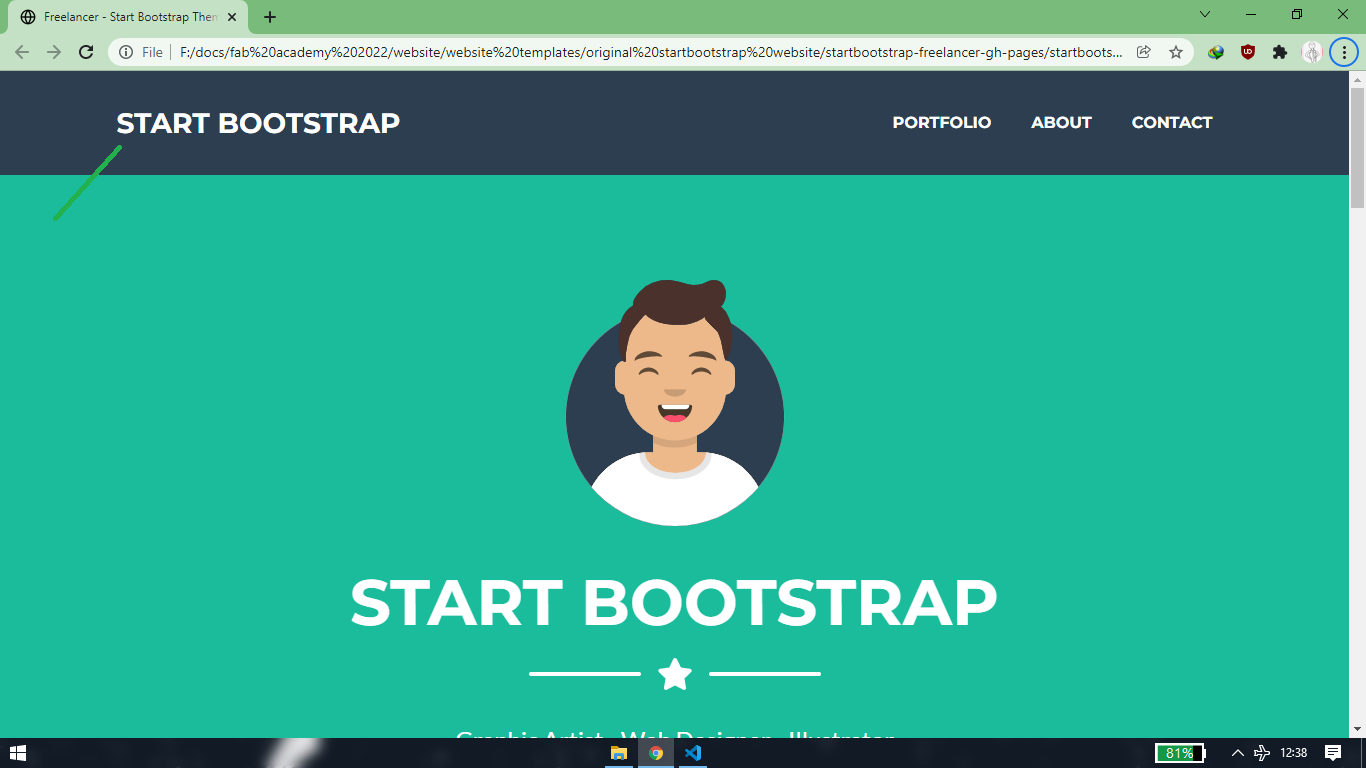
extract the zip file and open the .HTML file and it will open your website locally. To make changes in the .HTML, .CSS or .js file, it is
recommended to use a source-code editor. You can find a lot of source-code editor like sublime text, notepad++, however i am using visual
code studio. Link for visual studio code(vscode): https://code.visualstudio.com/
[1] Find and replace
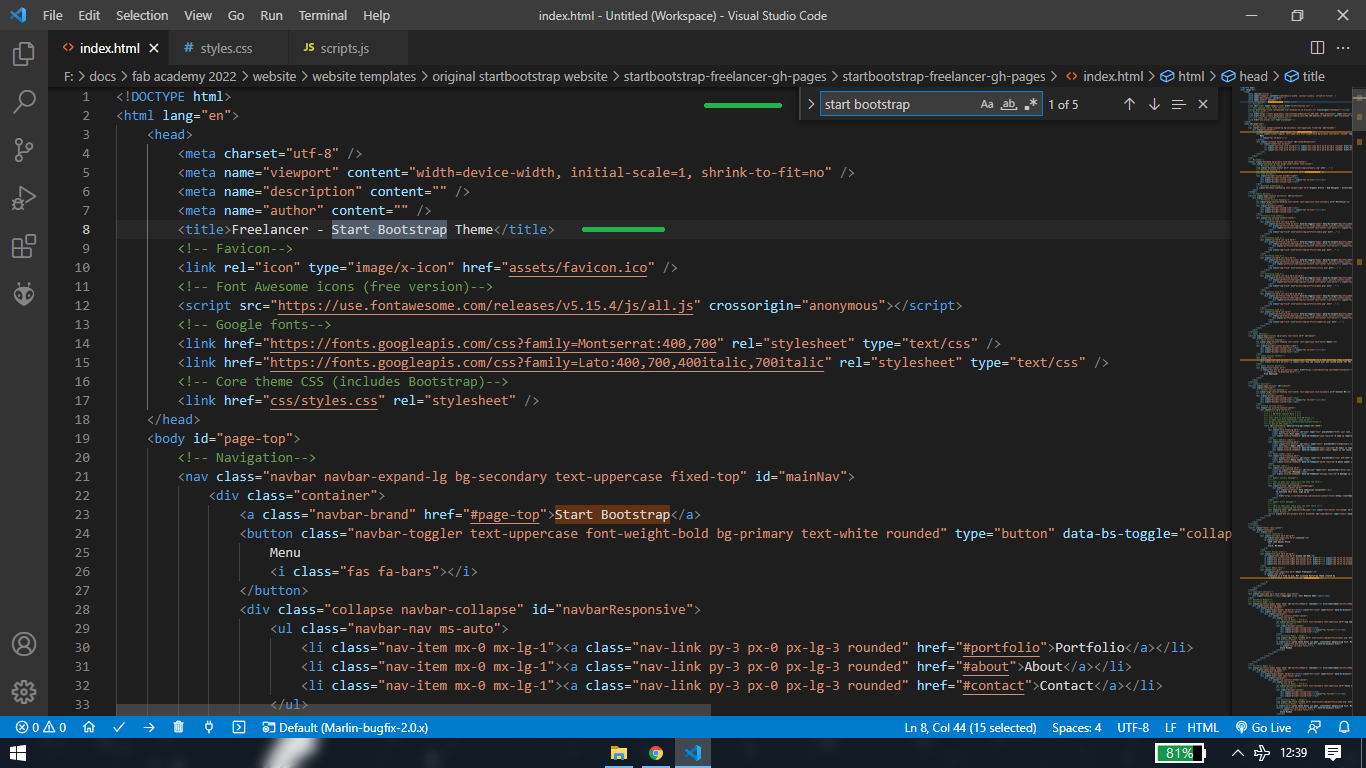
open the .HTML, .CSS and .js with vs code
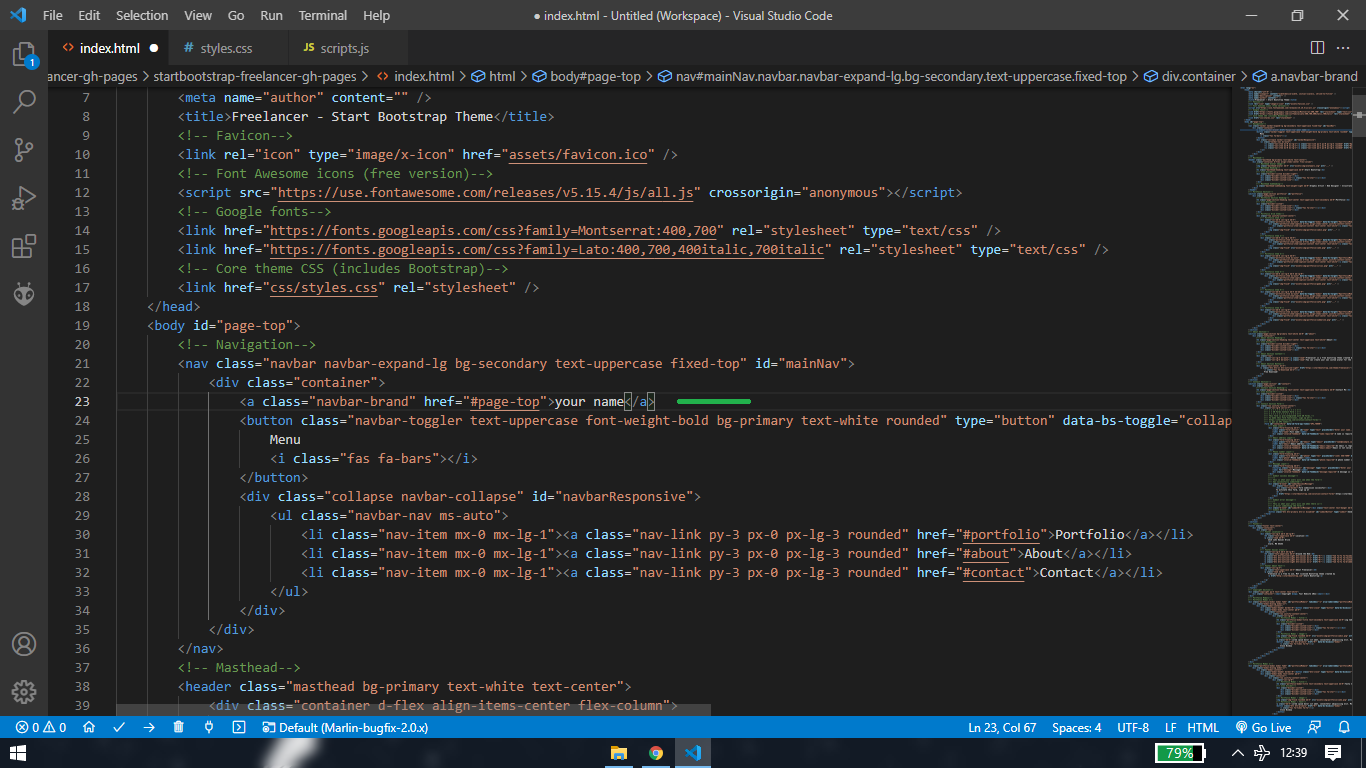
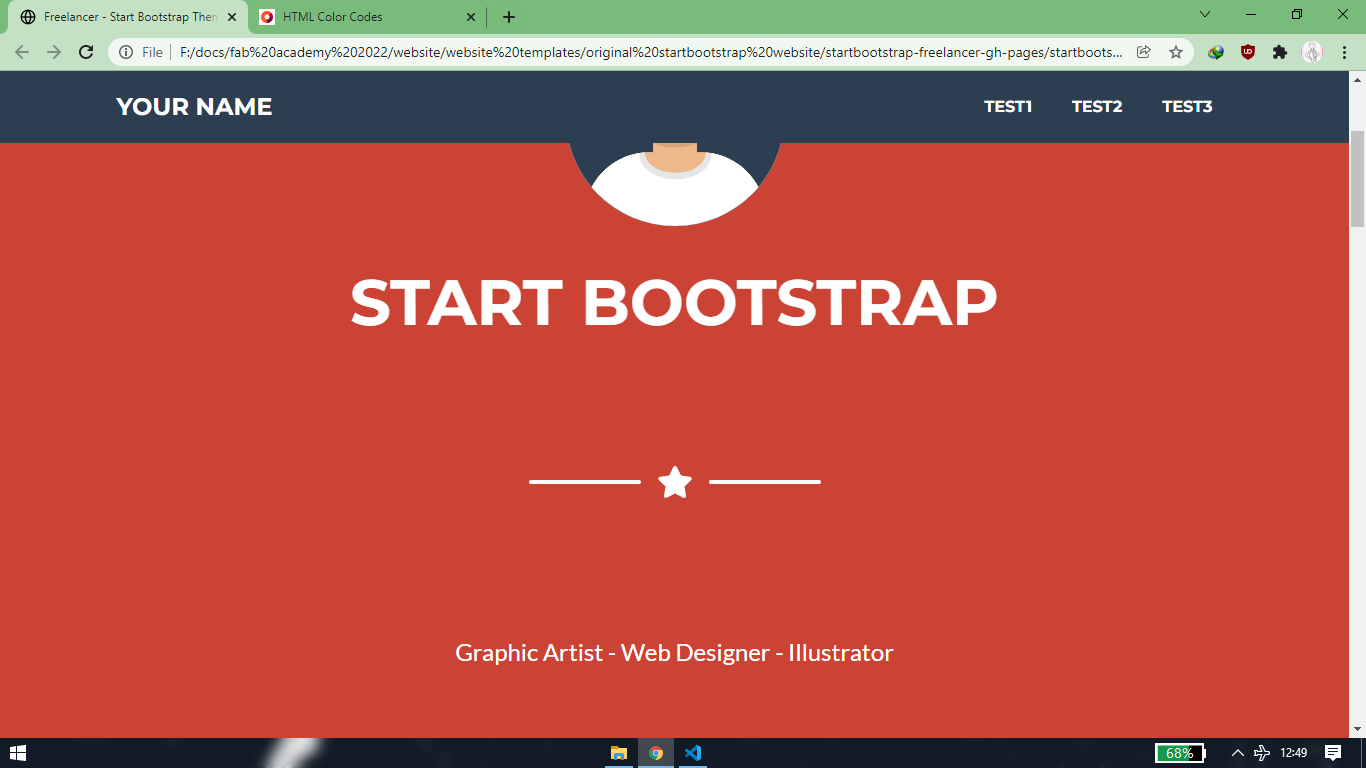
let say you want to change title of the website from "start bootstrap" to "your name"
simply search the name in the vs code using ctrl+f, edit the text and save it. refresh your local website and you'll beable to see the
changes

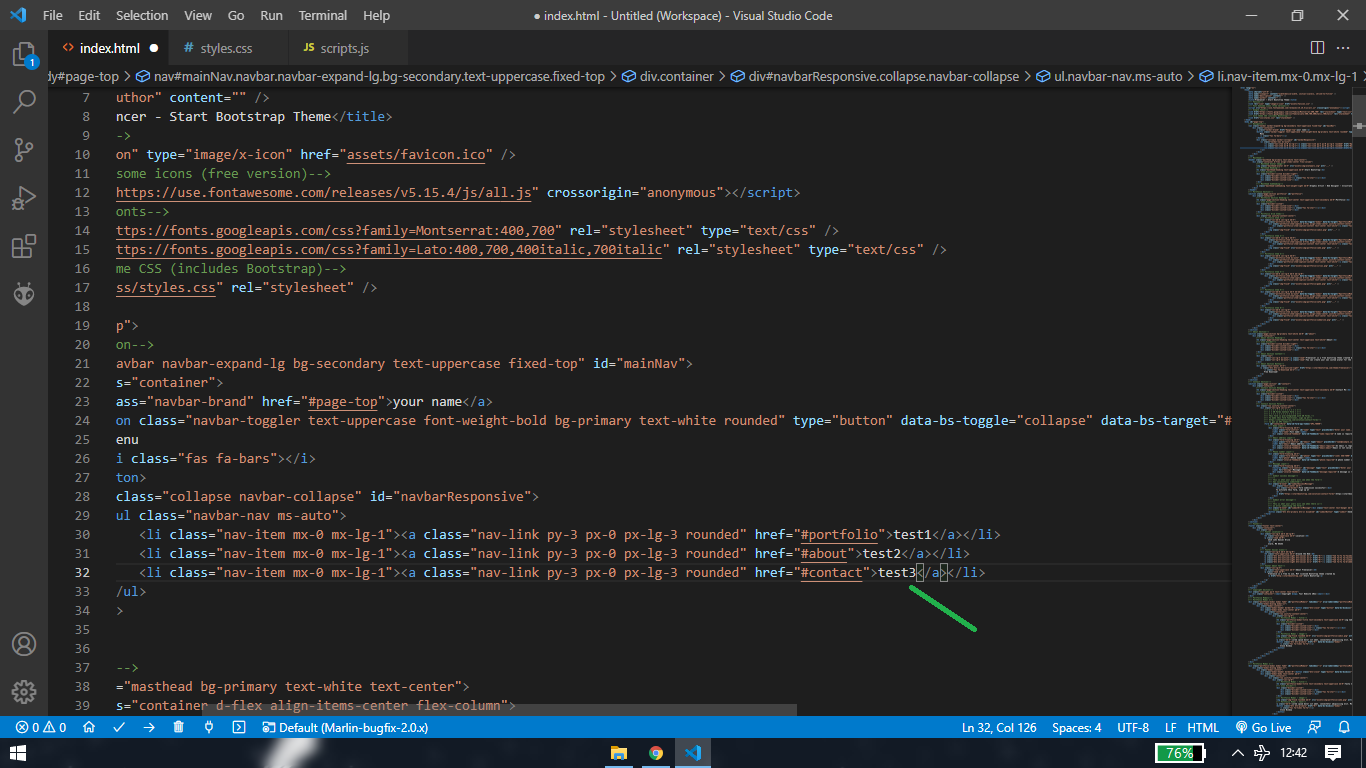
let's apply the same with "portfolio""about""contact"
[2] Inspect
let say you want to change the background color of the website
rightclick and click on inspect or use f12 key
![]()
press ctrl+shift+c or click on the top-left box. Hover your mouse over the background where you wish to change the color
![]()
you will see the color code starting with # or you'll see the RGB value. Try searching the #color code in vs code, if you can't find that
convert the #color into RGB value and then search it. Replace the #color code or RGB value with your desired color.
![]()
![]()
![]()
![]()
![]()
link for the htmlcolorcodes: https://htmlcolorcodes.com/
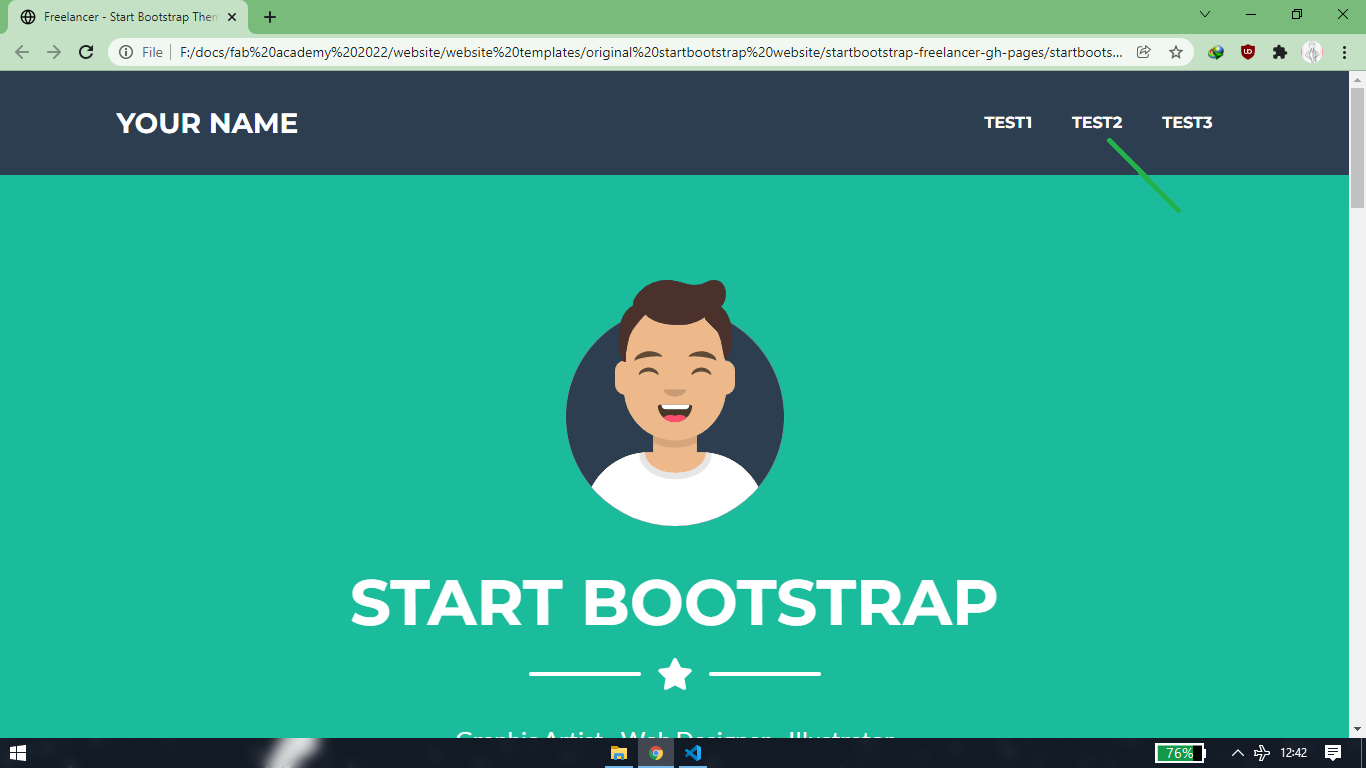
let say you want to increase the space/margin of the line and star
press ctrl+shift+c or click on the top-left box. Click on the star and line box. On right hand side under style, you'll see style.css code
lines
![]()
![]()
click on the first style.css file and a new window will pop-up highlighting a line.
![]()
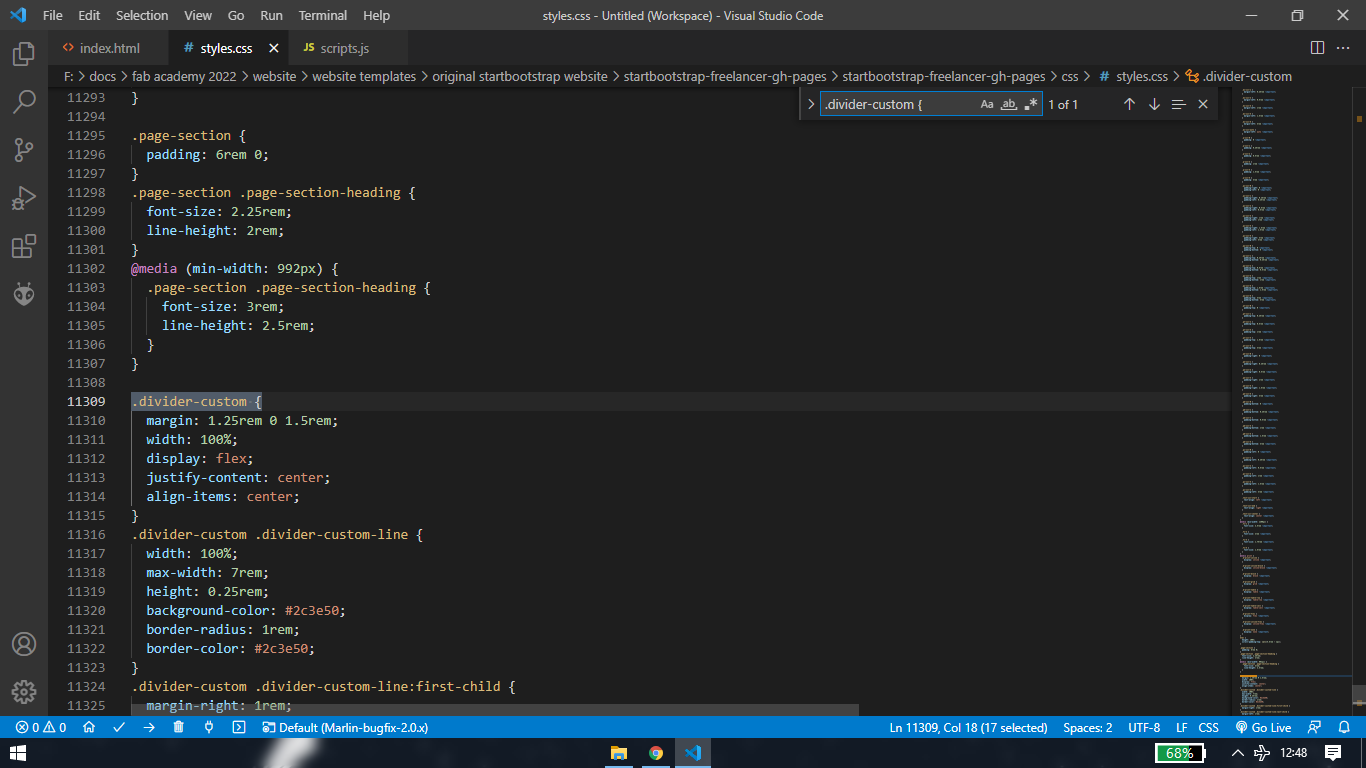
you can change the value in the inspect and see what changes are reflected but it will only be temporary. Once you refresh all the changes
will undo. Also i have observed many times that making changes in the inspect is not always same as making changes in .html file. So
what i do is copy the highlighted line and search that in vscode and make the changes in .html file and not in inspect.
you'll need to edit line of code>see if desired changes are reflected in the website, so basically lot of trial and errors. So to prevent any
mess ups, whenever my website reach the point where the website has made a lot of sucessful changes and looks better than before, I use
to make a copy of file as a backup, in case i can't revert the changes.
The git lab will take care of maintaining history of different version once the website is pushed in the repository(more on that later)
[3] W3School
if you want to add some icons or button, just search the keywords like "add next/previous button in html" and open the w3school link.
You'll be provided with lines of code for .HTML file as well as .CSS file and sometimes .js file too, depending what you are adding
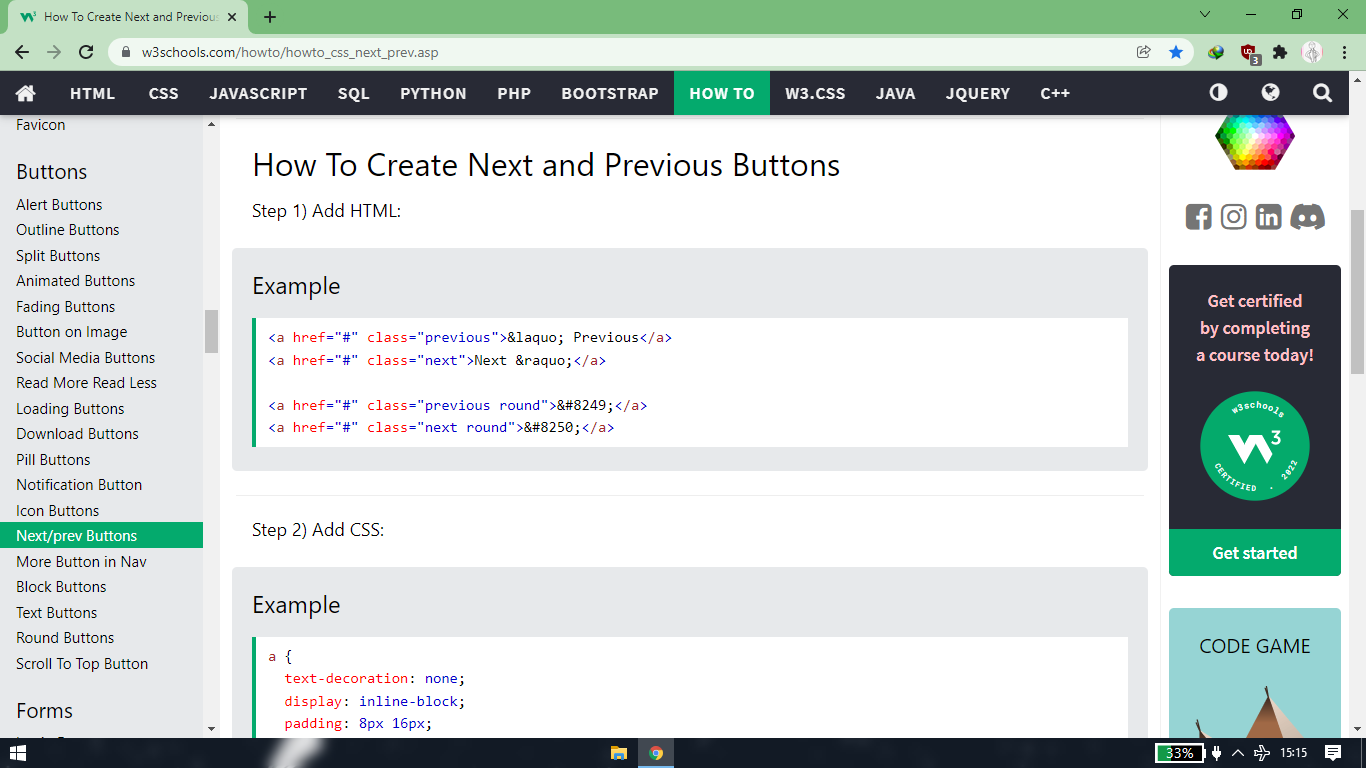
copy that code and paste into respective files. Sometime you need to click on the tab "Try it yourself" to get copy the lines of code.
Note that the line of code will be empty at some places for you to add the href="#" to link
the .HTML page. So make that necessary addition/modification. However in my case there is only one .HTML page and the weeky assignments
are in form of pop-upwindow type tabs. so i had to do trial and error to give them the path required to open a tab whenever i click on
next/previous button.
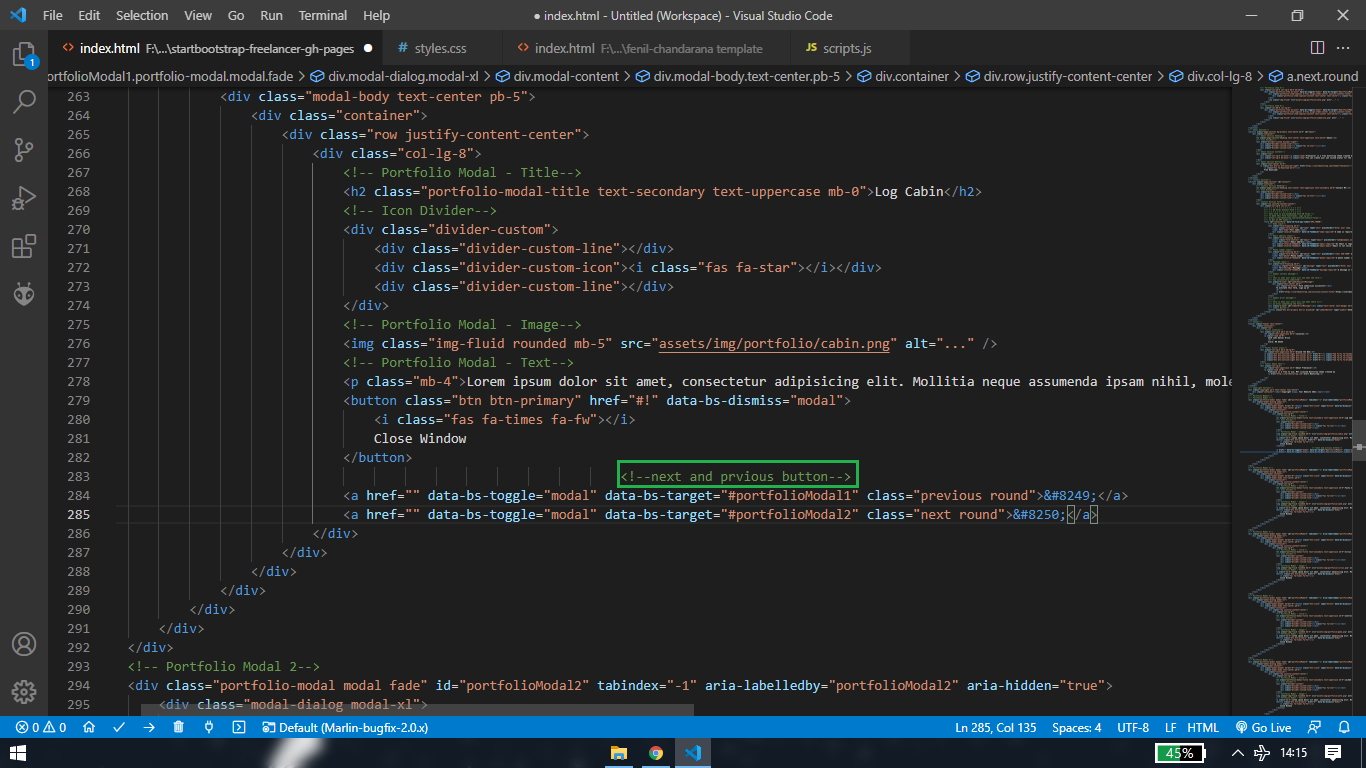
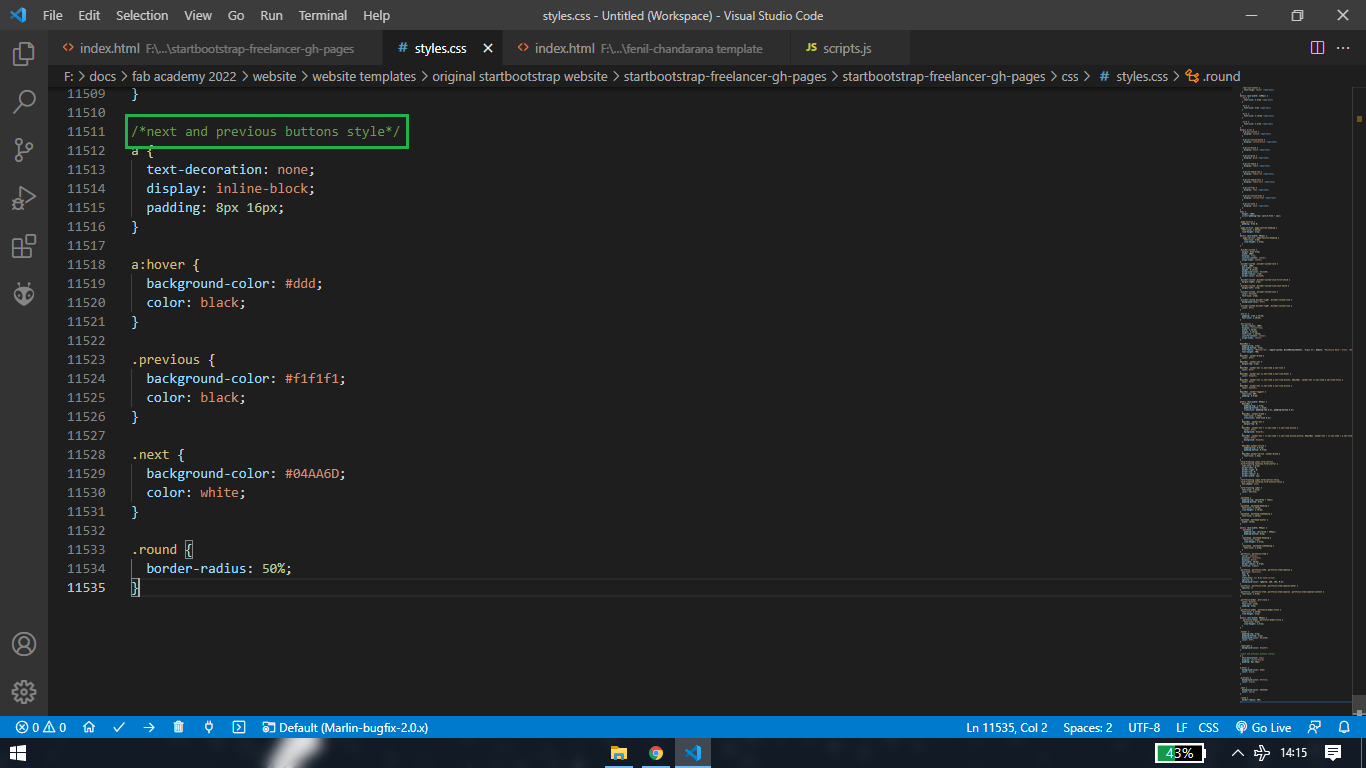

table for changes in original template
GIT
this part of the section is about how to push a website into the git repository. But before jumping into it, let me explain in brief what
version control is, that way you will understand it better what the repository is. Suppose there are three person working on a project
where they are suppose to write number from 1 to 10. Between them, they have a repository, which is like a storage for storing the file
containing number 1 to 10. Person A starts working on the project and writes number 1-2-3 on a file and uploads it to the respository. After
few days, Person B downloads the file from repository containing number 1-2-3 and adds number
4-5-6 and Person C downloads the file containing number 1-2-3-4-5-6 and adds number 7-8-9-10. This is what a repository is, everyone with the
access to the respository make changes in the project by uploading and downloading the files to/from repository .
Now let say that Person A decides to make changes in the project. He now wants to write 1-2-3-A-B-C instead of 1-2-3-4-5-6-7-8-9-10. So instead
of deleting the whole thing, what Person A can do is download the file containin number 1-2-3 from the history and add the letters A-B-C. This
is what verison control is. The file with number 1-2-3 is version 1, the file with number 1-2-3-4-5-6 is version 2 and so on. In the gitlab,
record of every changes you make in the repository remains in the history and you can download the previous version files from the history at
anytime, because you cannot delete the history, which has its own advantages and disadvantages.
<<<---SSH key--->>>
first step is to add a system generated SSH key into your gitlab account AND configure your username and email address into your system
have this things ready,
- setup your account and repository in gitlab. (i already had my account and repository set by Julian Gallimore)
- download gitbash: https://git-scm.com/downloads
- download visual studio code: https://code.visualstudio.com/ (or any Source-code editor).
The reaon why I am using vscode is because of the extension called "Live Server" You can install it by searching for live server in extensions
tab and then install it. After you have installed the live server, go to the Explorer tab and add the folder where you have your website/repository.
Next step is to click on "Go live" tab at the bottom or Right click and select "open with live server". You'll be directed to the default
internet browser and in this way, when you save/CTRL+S while editing in html/css/js, the internet browser will automatically refresh and you
don't need to manually refresh it every time to see the changes in your website.
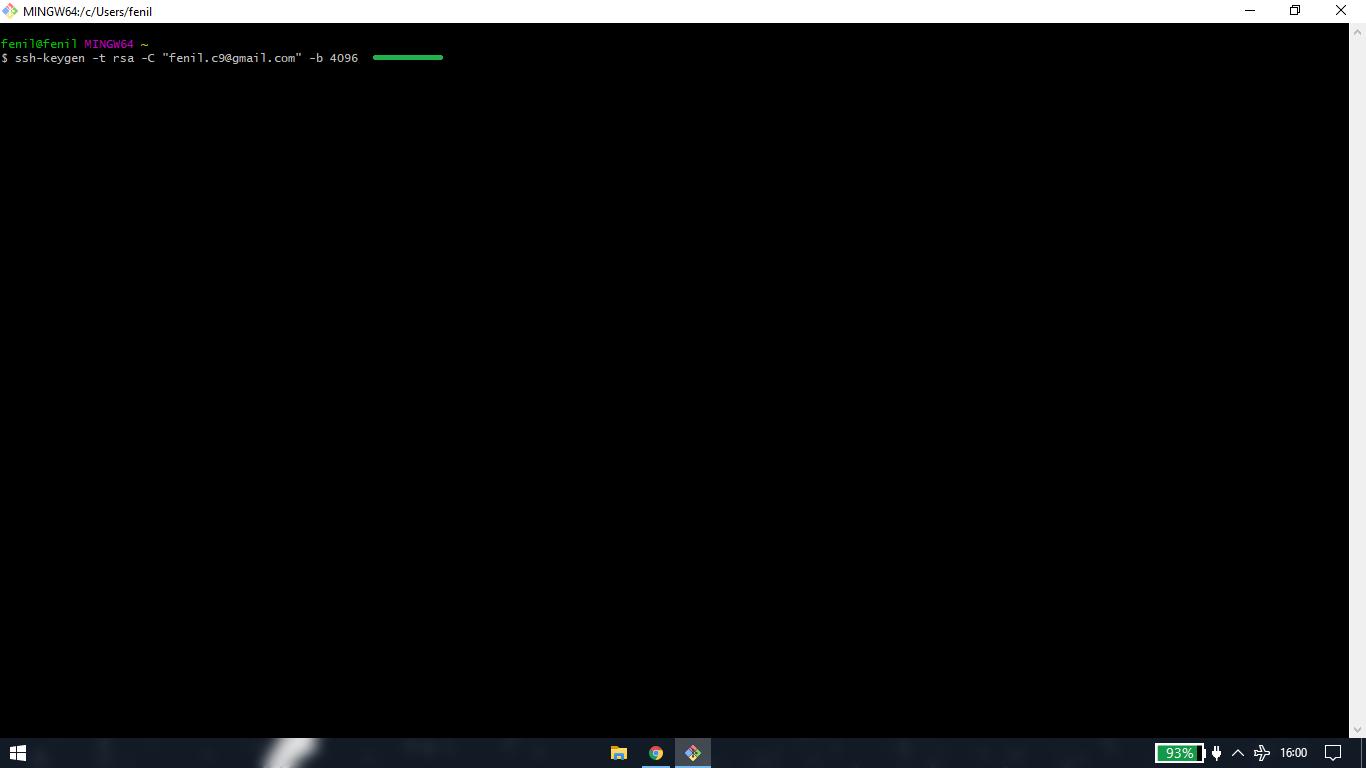
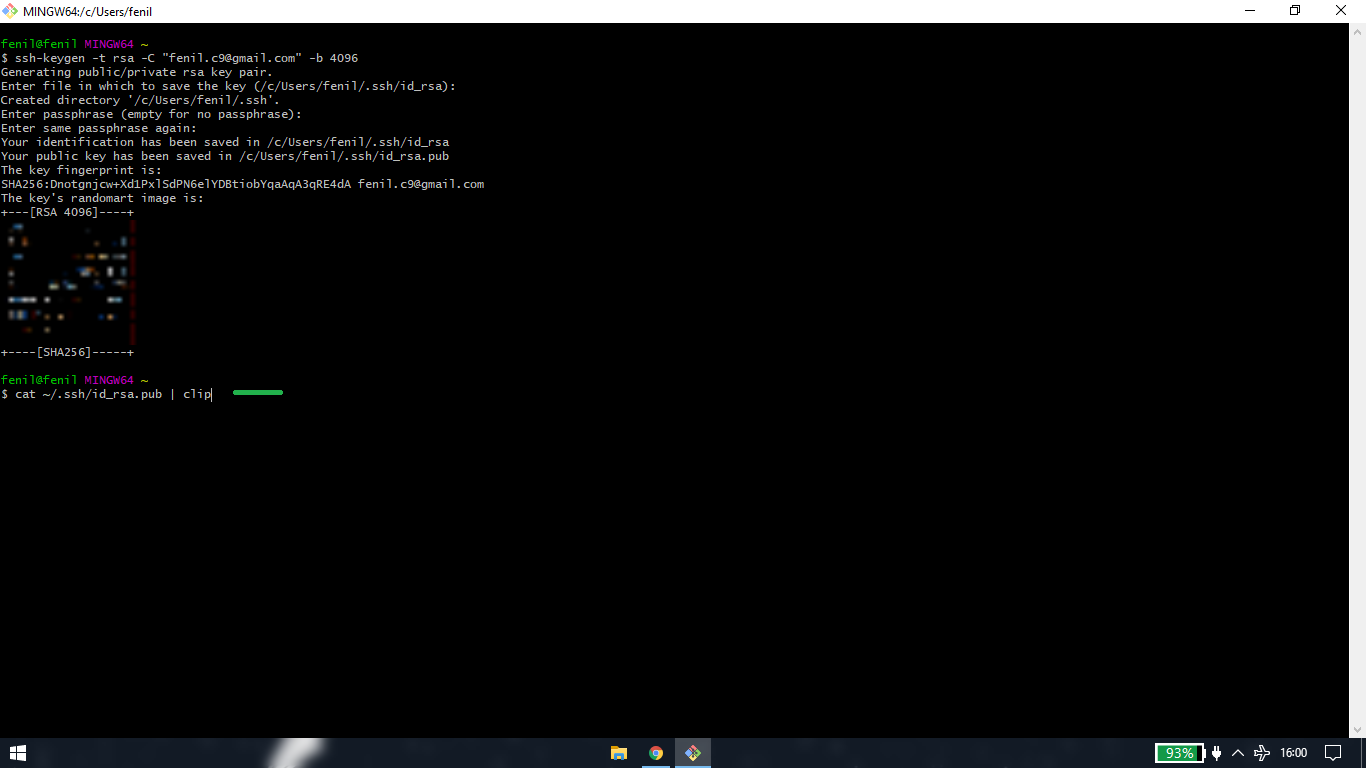
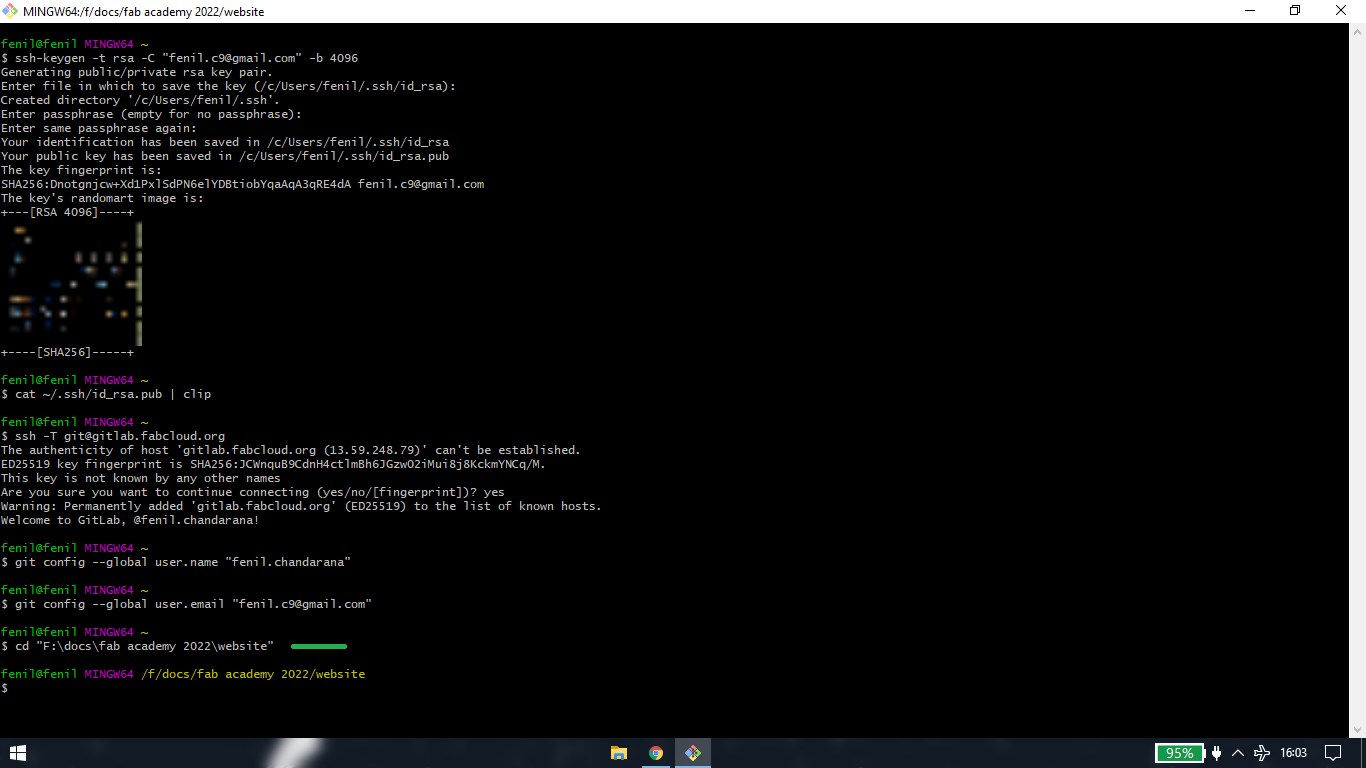
[1] Generating the SSH key
ssh-keygen -t rsa -C "fenil.c9@gmail.com" -b 4096
Run the above line of code in gitbash, after putting your gitlab email address in between double inverted commas.
[2] File path for saving SSH key
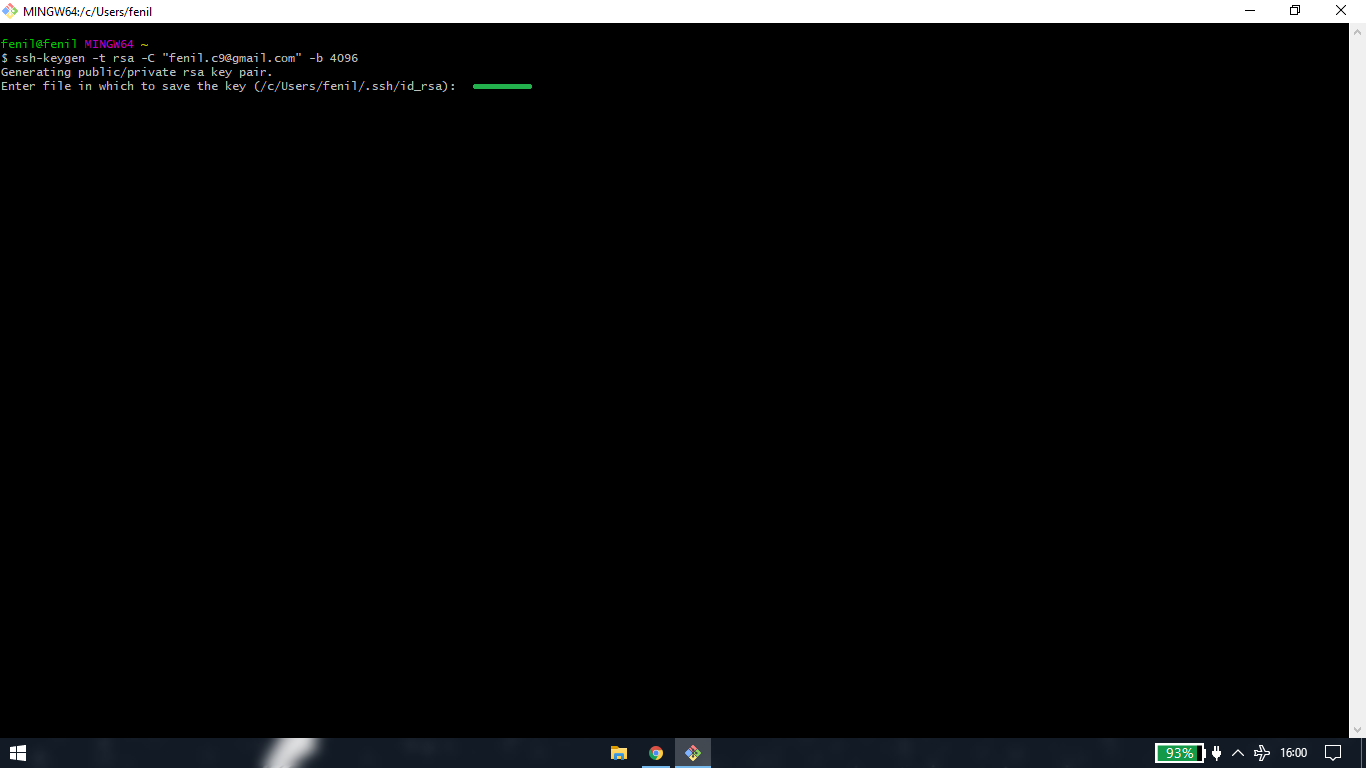
by default the file path will be C:\Users\"system's name" however you can change that. Hit enter
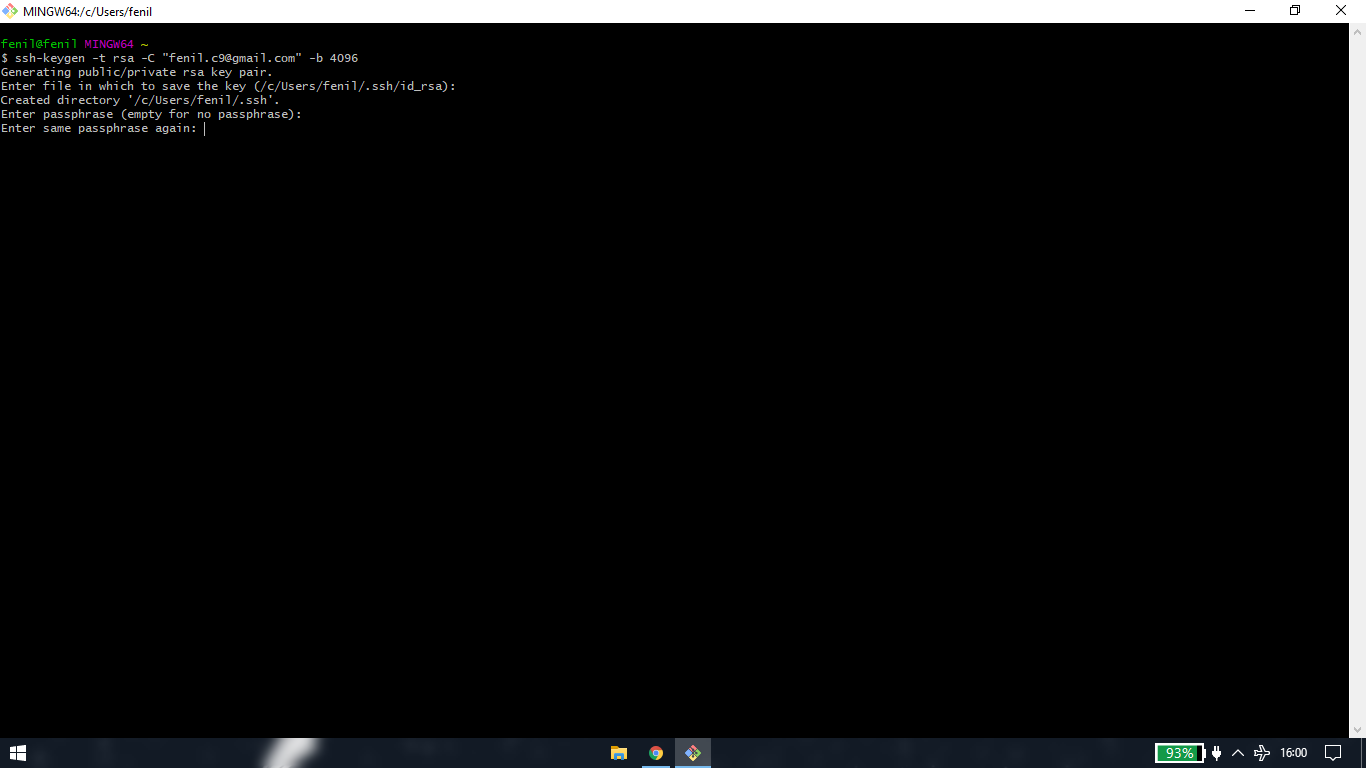
you can add paraphrase, however i have kept the paraphrase empty for the next two steps
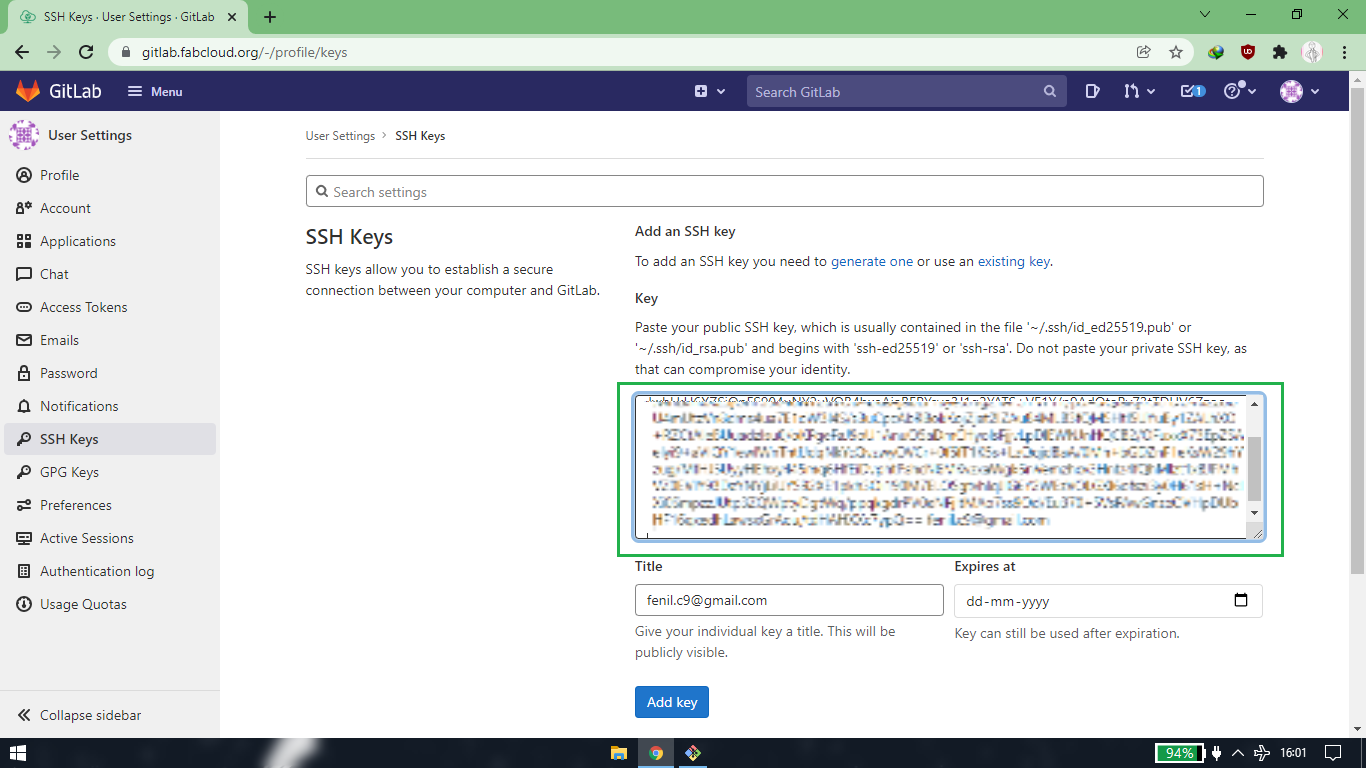
[3] adding the key into your gitlab account
after confirming the paraphrase, a key will be generated
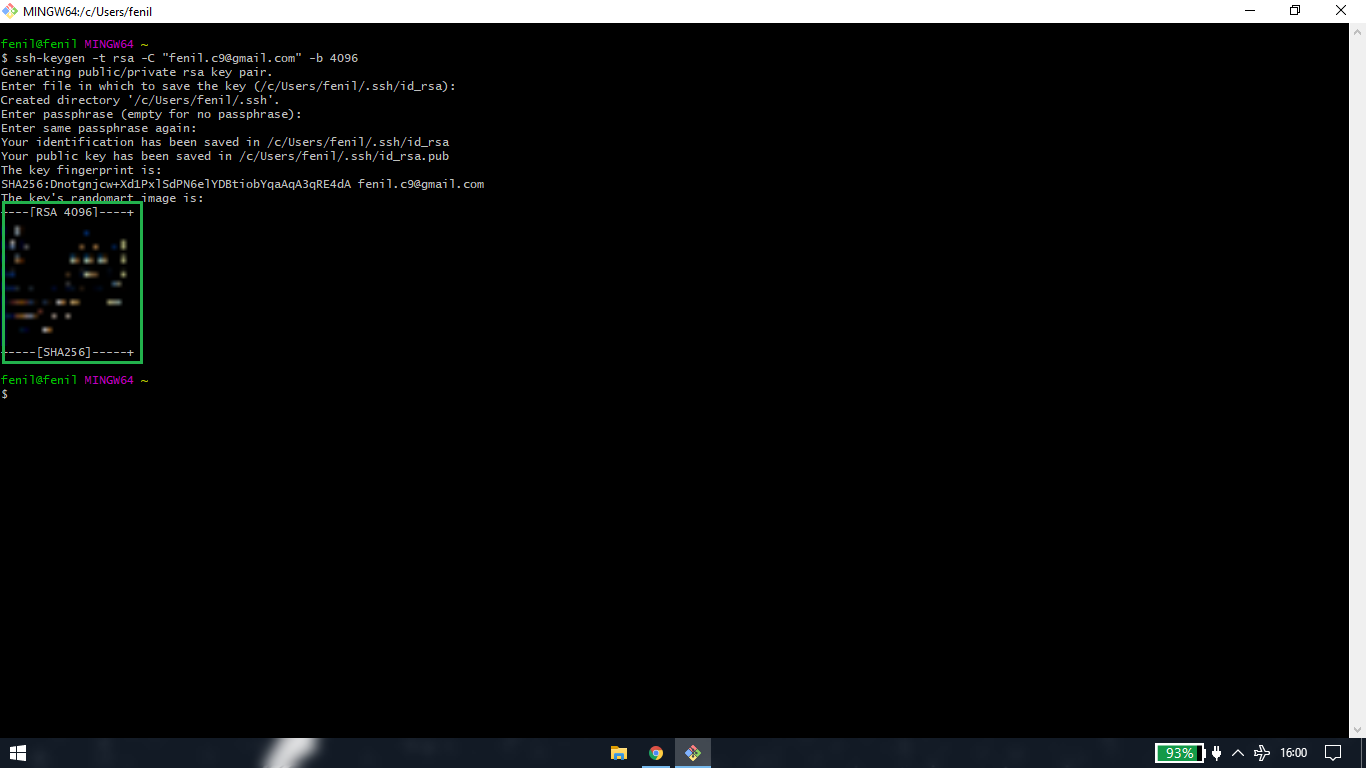
you cannot just select that key and copy-paste it. Run this line of code to copy the SSH key: cat ~/.ssh/id_rsa.pub | clip
just hit paste in the SSH key box and click on add key. URL for SSH key: https://gitlab.fabcloud.org/-/profile/keys
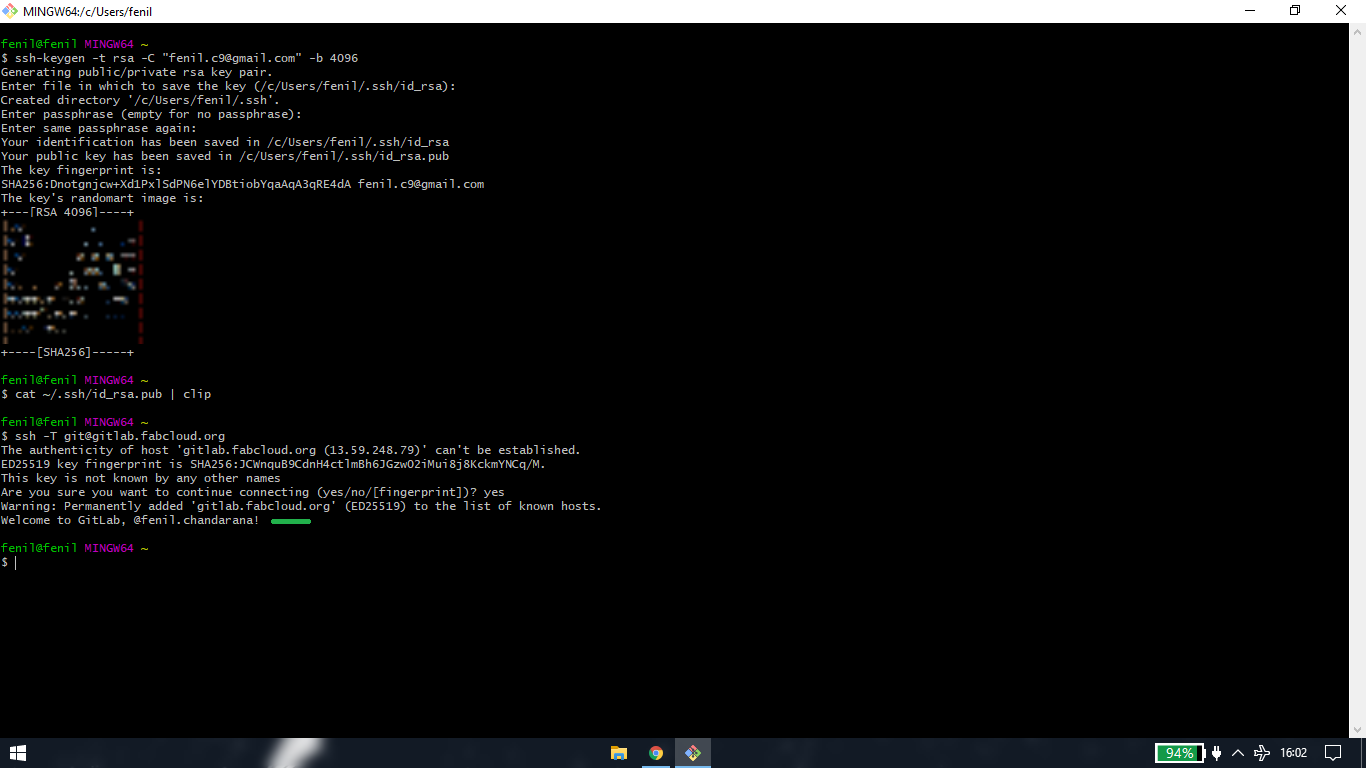
to confirm whether your system is lnked with gitlab account, run this line of code: ssh -T git@gitlab.fabcloud.org. Type "yes" and hit
enter if asked any confirmation.If your username pops up in the message, your system is linked with the git lab account.
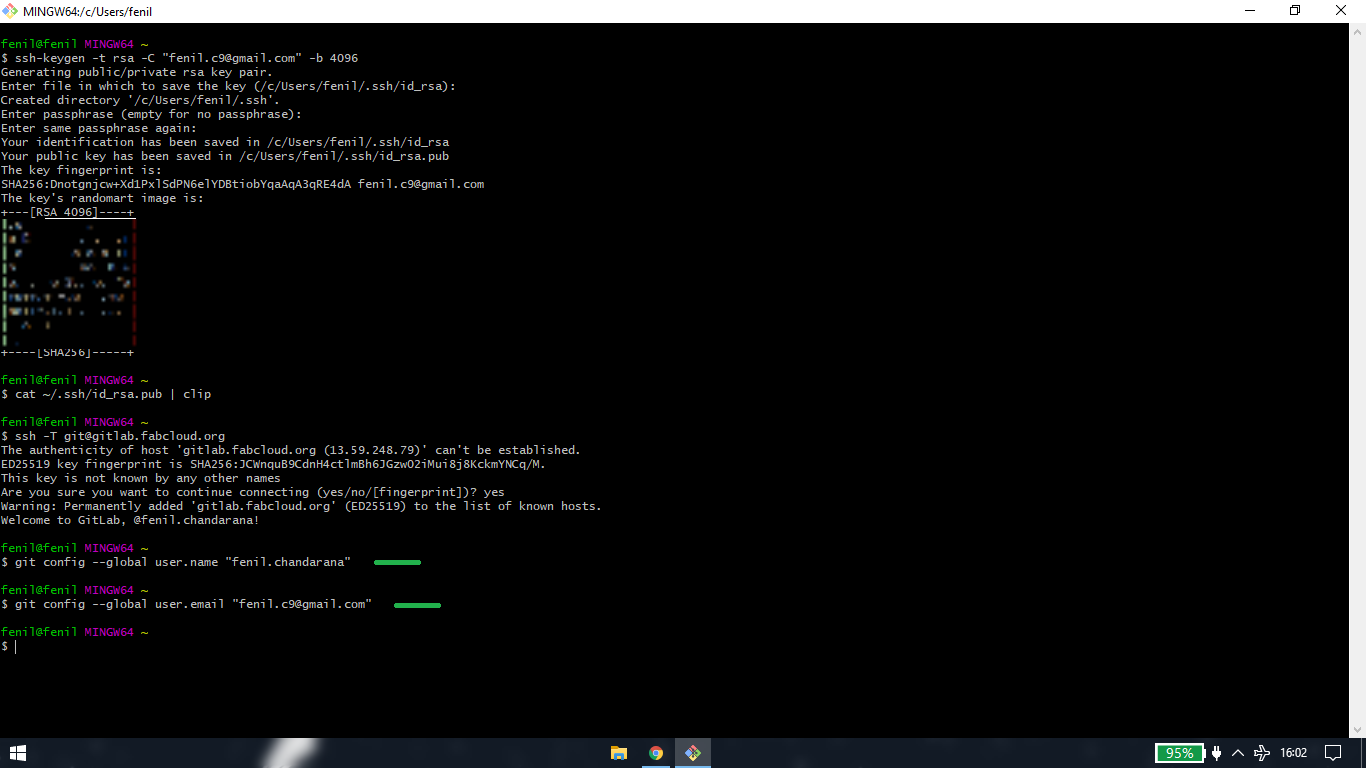
[3] confirm your username and email address
run this line of code one by one,
git config --global user.name "fenil.chandarana"
git config --global user.email "fenil.c9@gmail.com"
there wil be no message for confirmation
<<<---Clone your repository--->>>
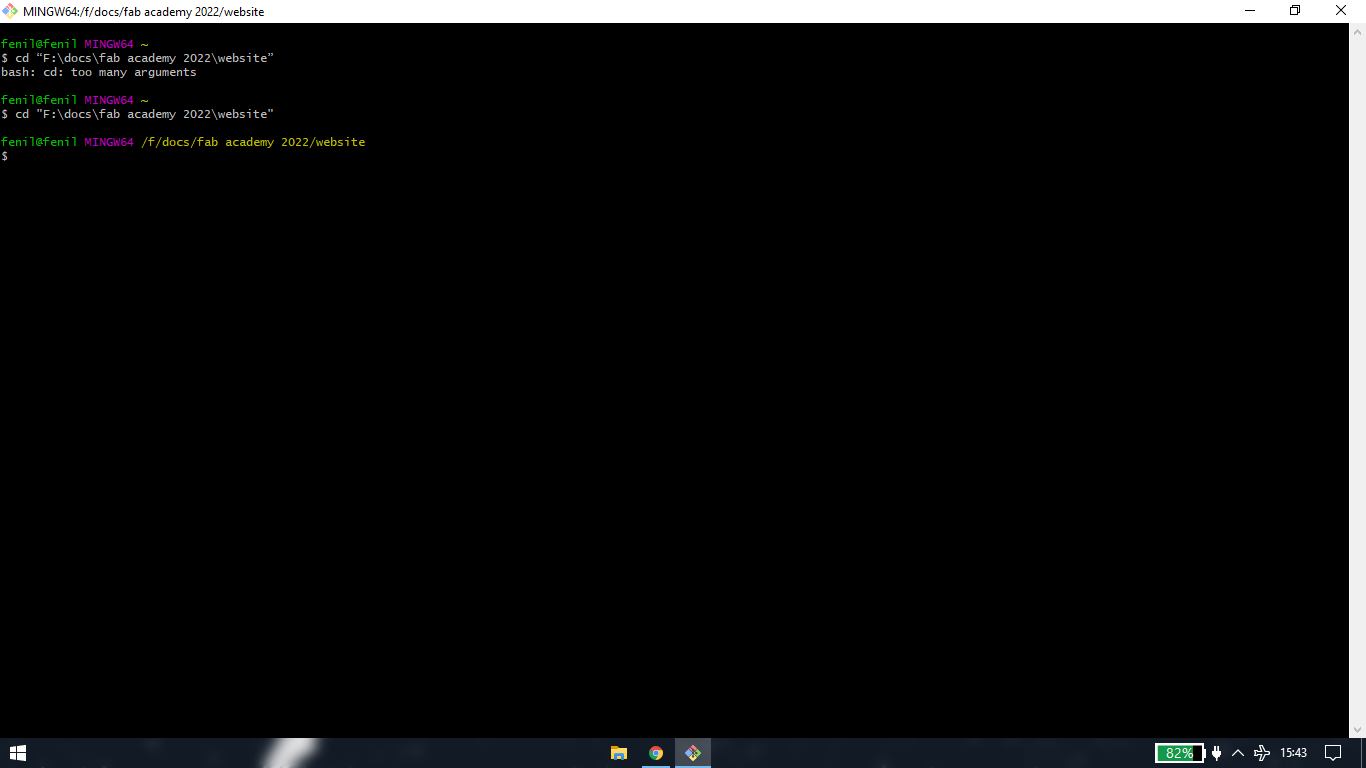
[1] set command directory
before cloning, set your directory where you want to clone your website: cd “F:\docs\fab academy 2022\website
while running this code, if i pasted the whole line of code it will show error "bash: cd: too many arguements". So in order to sucessfully
set my desired sdirectory I had to type cd
[2] run the clone repository code
git clone git@gitlab.fabcloud.org:academany/fabacademy/2022/labs/vigyanashram/students/fenil-chandarana.git
you will get the "clone with SSH" link from here
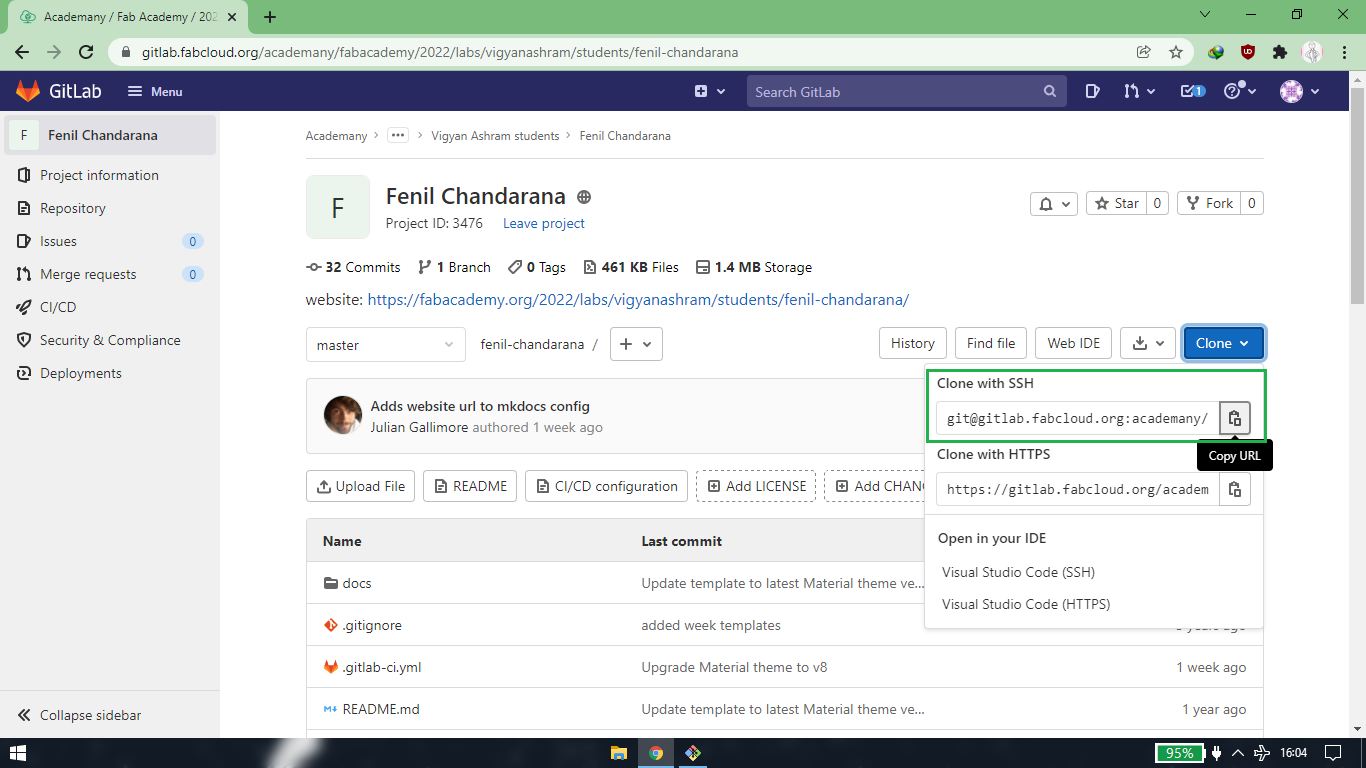
now your website is clone into the file path you entered above.

<<<---Push my HTML website--->>>
The below method is how to replace the mkdocs website with html(or vice-a-versa)
[1] set the ommand directory
set the directory where you have cloned your repository: “F:\docs\fab academy 2022\website\fenil-chandarana”
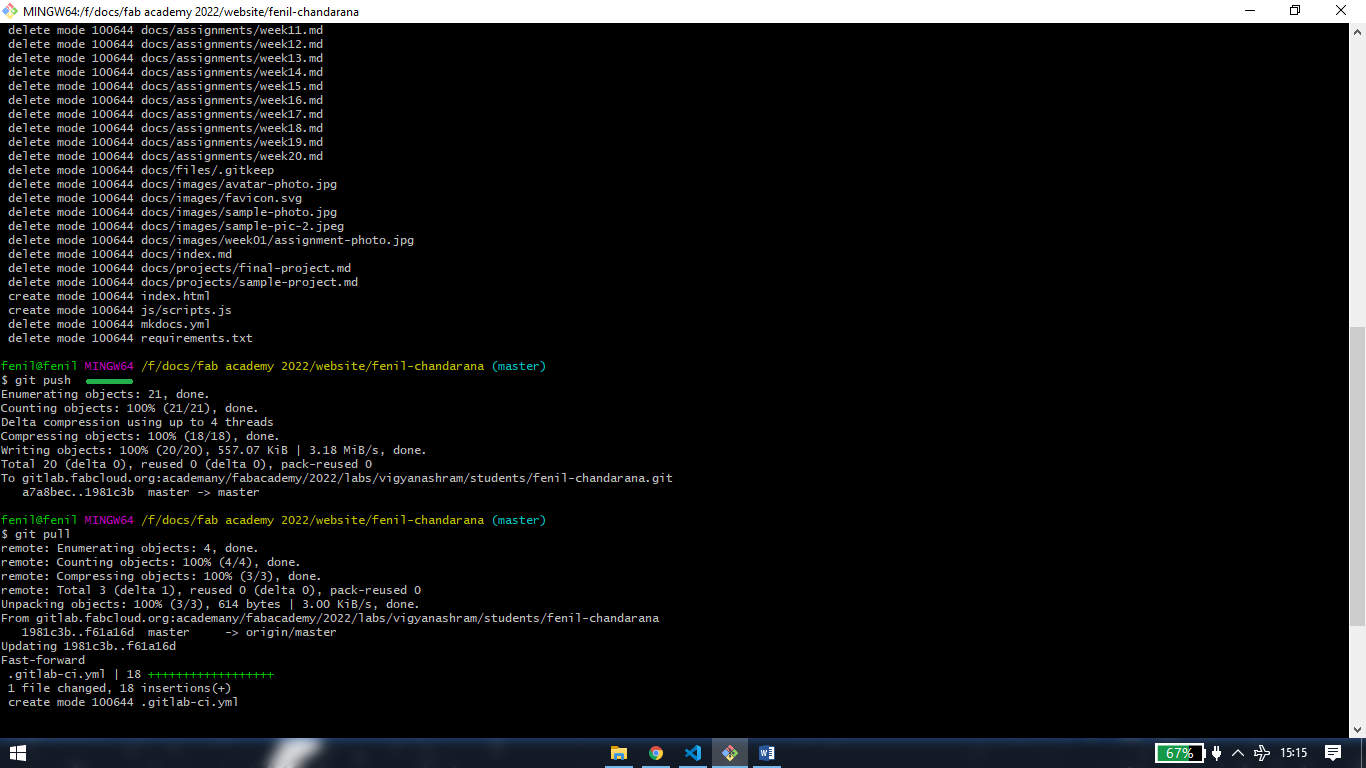
[2] pull the website
git pull

[3] add changes
apart from ".git" folder and ".gitignore" text document, delete all the files
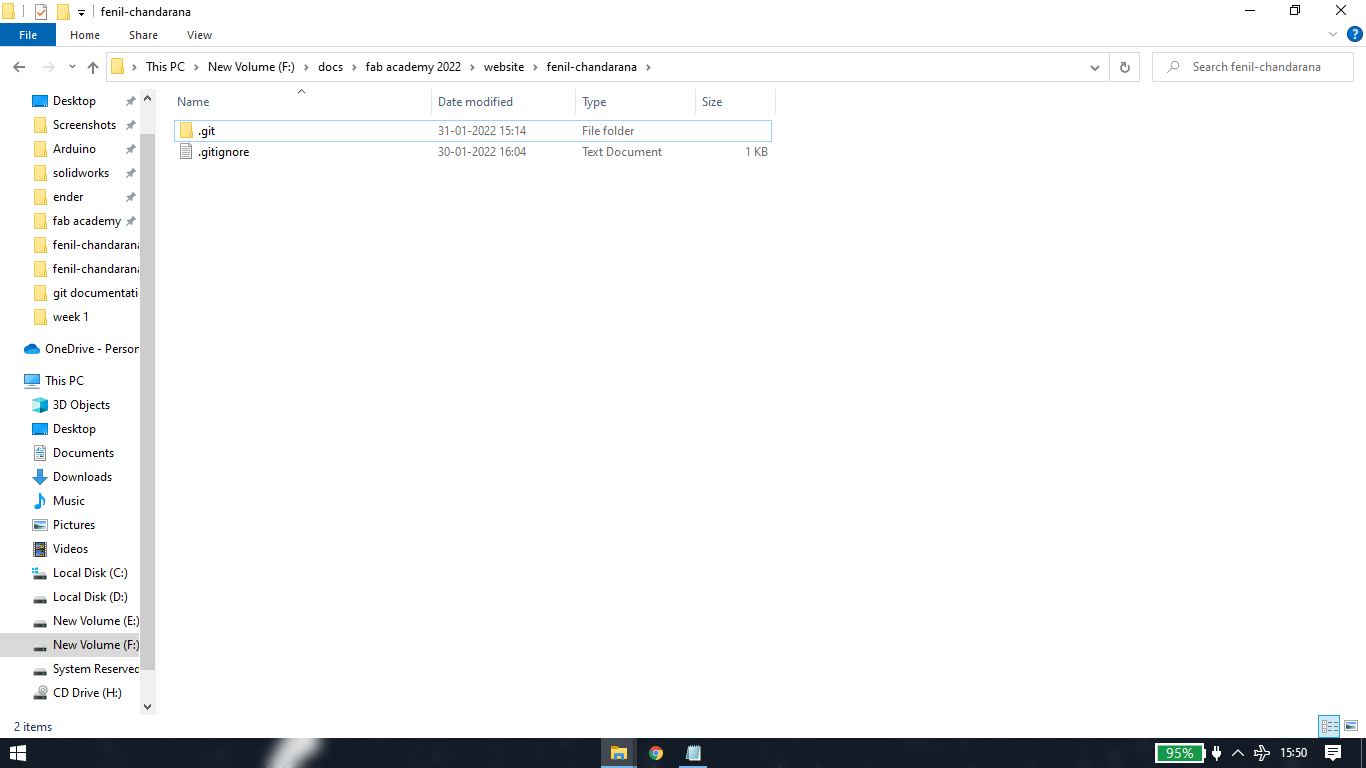
copy your html website files and paste into your cloned folder
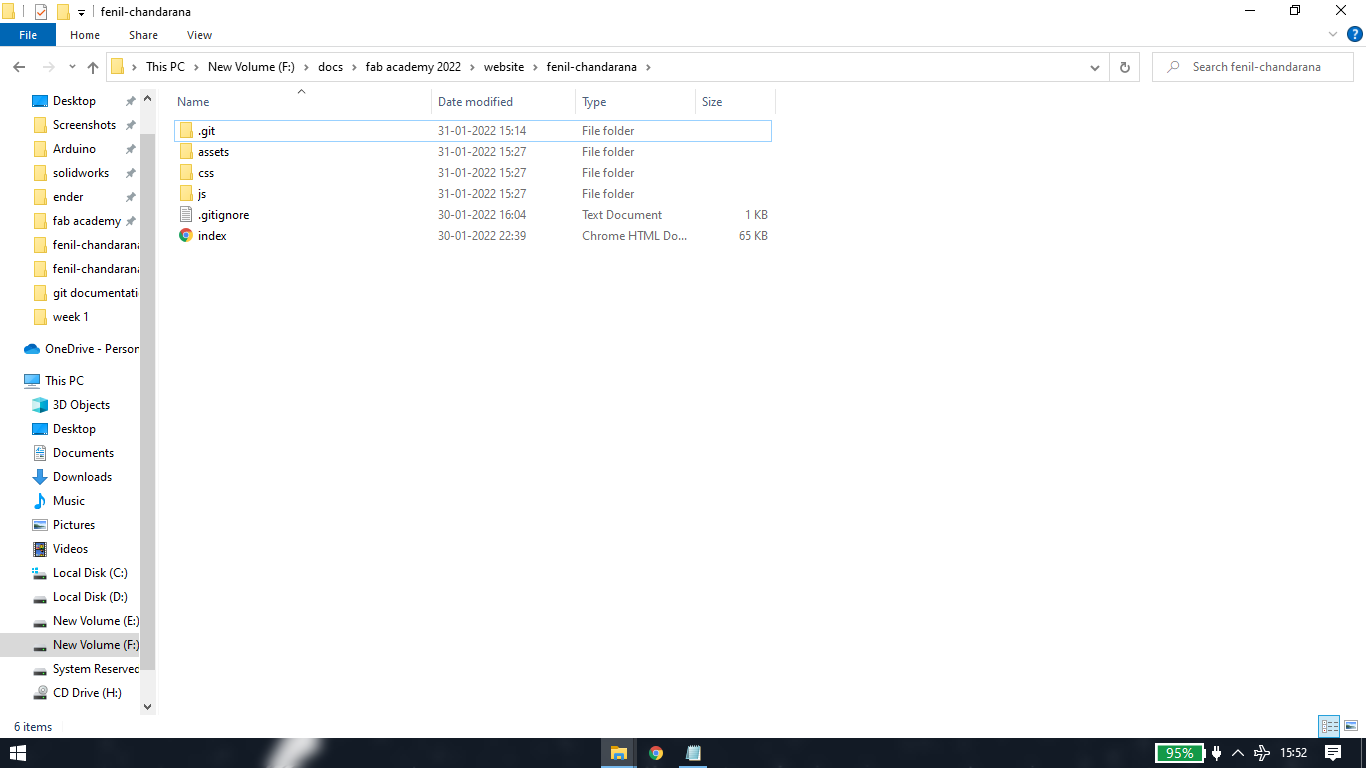
check size of your cloned folder
git add --all

[4] commit changes
commit to the changes you have made.
git commit -m"replaced the markdown website with the html website i have edited"

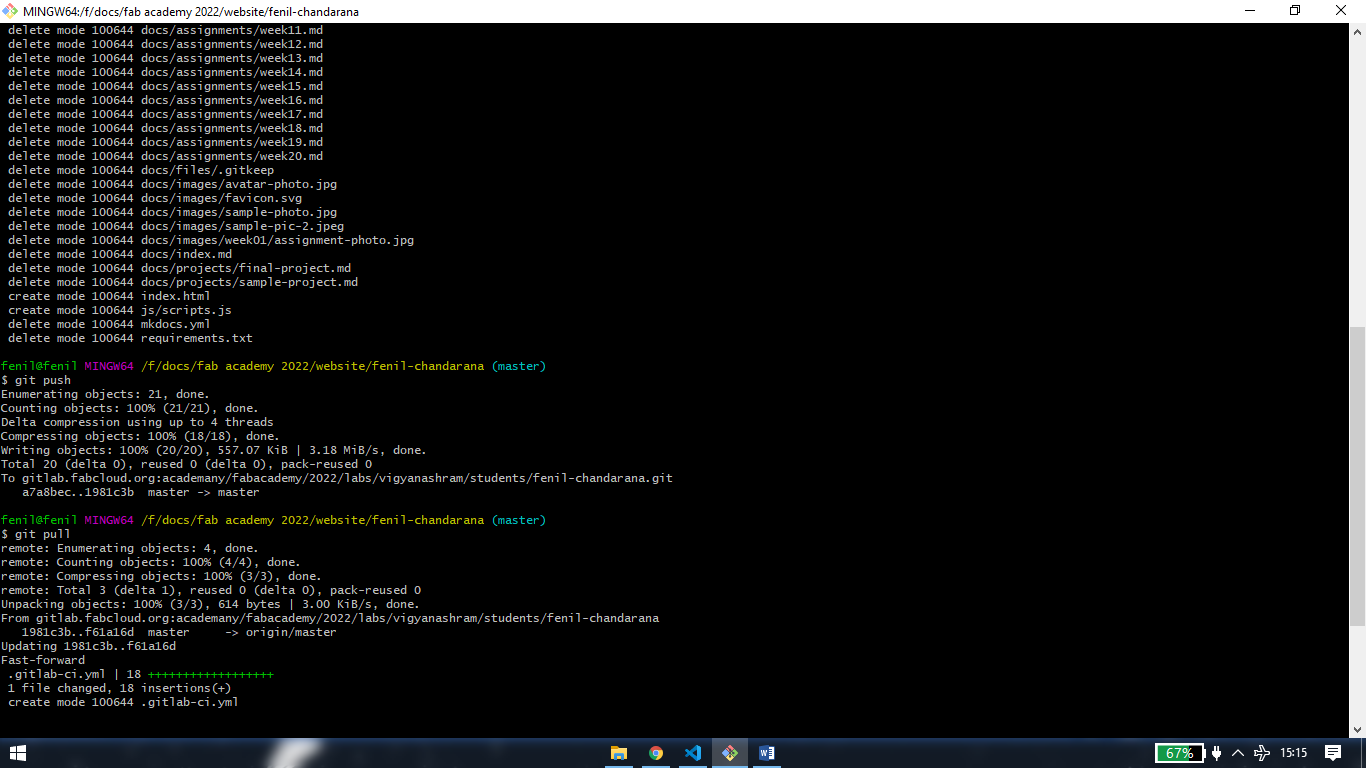
[5] Push website
git push
<<<---Add yaml file--->>>
since we have deleted the yaml file from the markdown website, we have to add the yaml file into repository as well as clone folder so that
changes will be reflected into browser
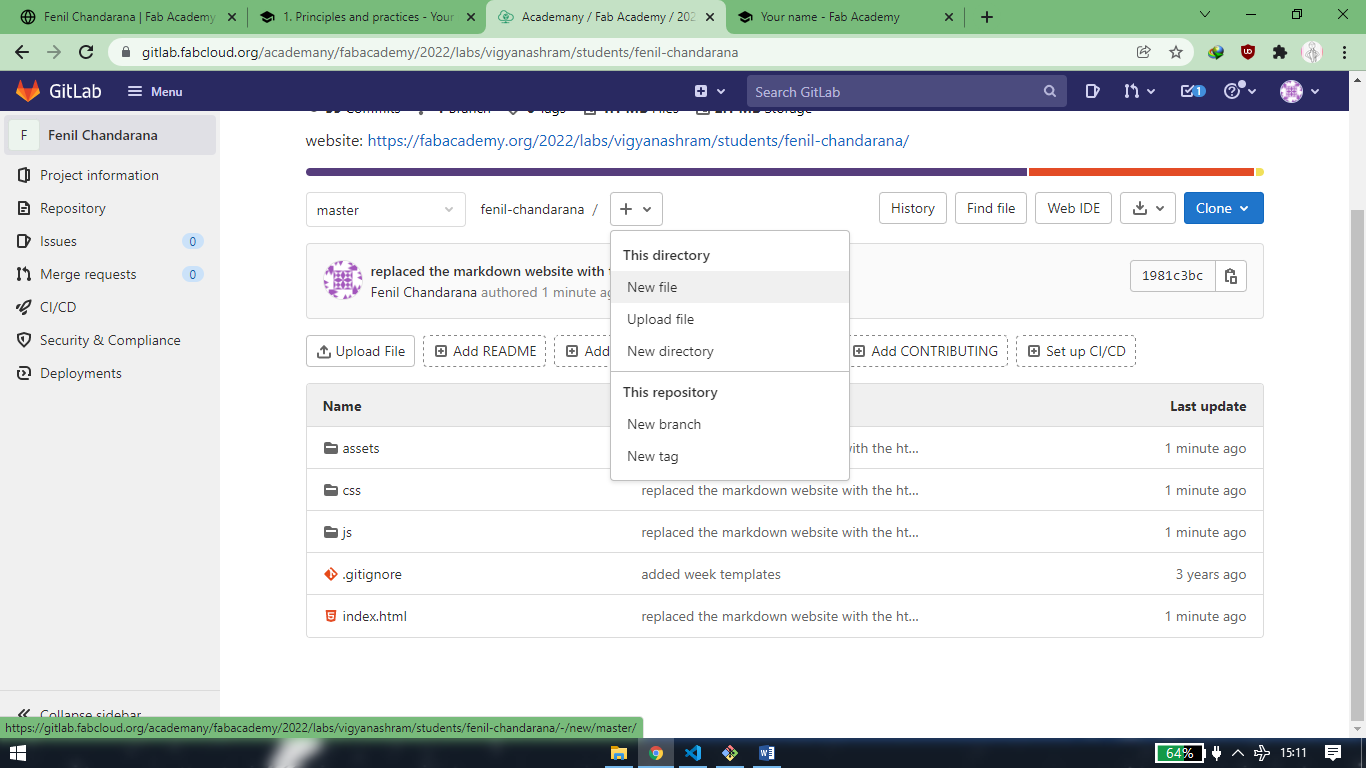
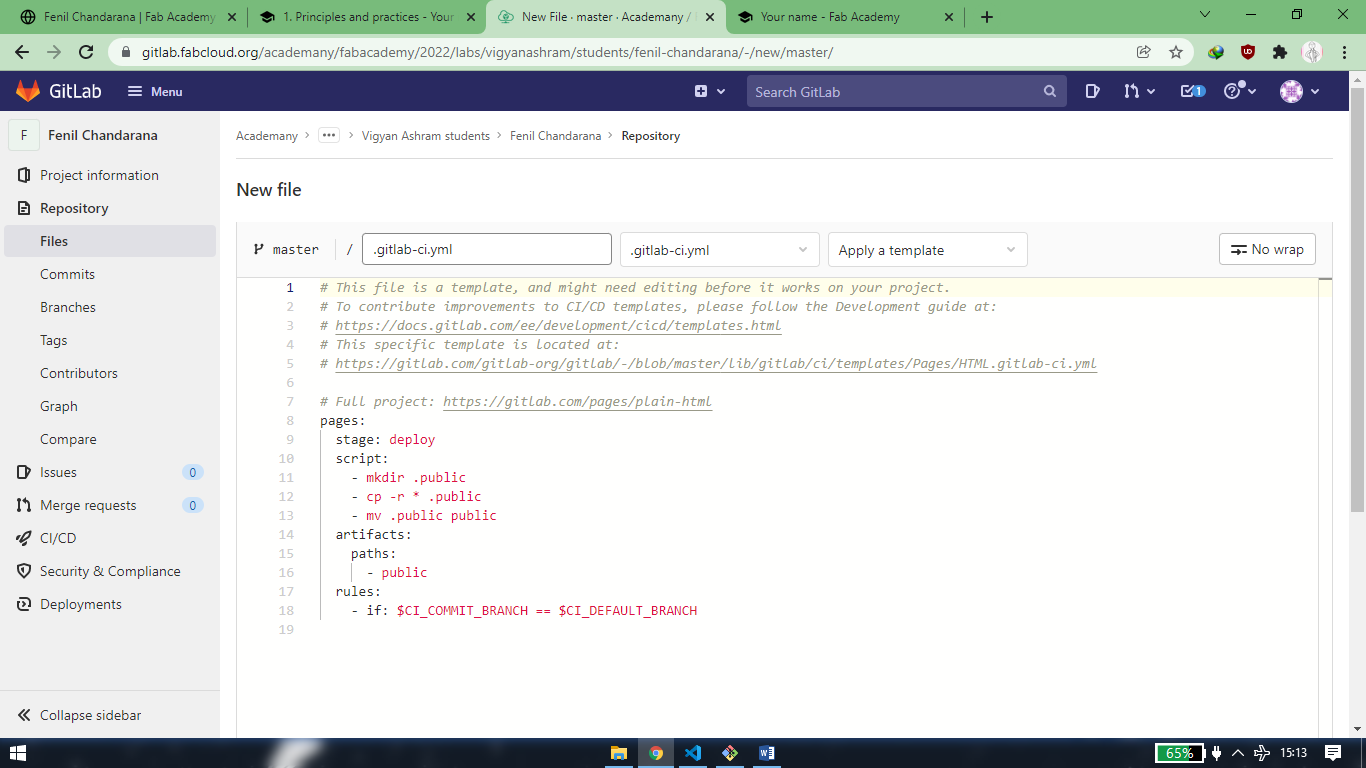
[1] add yaml file into your repository
click on "+sign">"new file" beside your name.
select template type ".gitlab-ci.yml" and "HTML" in "apply a template"
hit commit changes
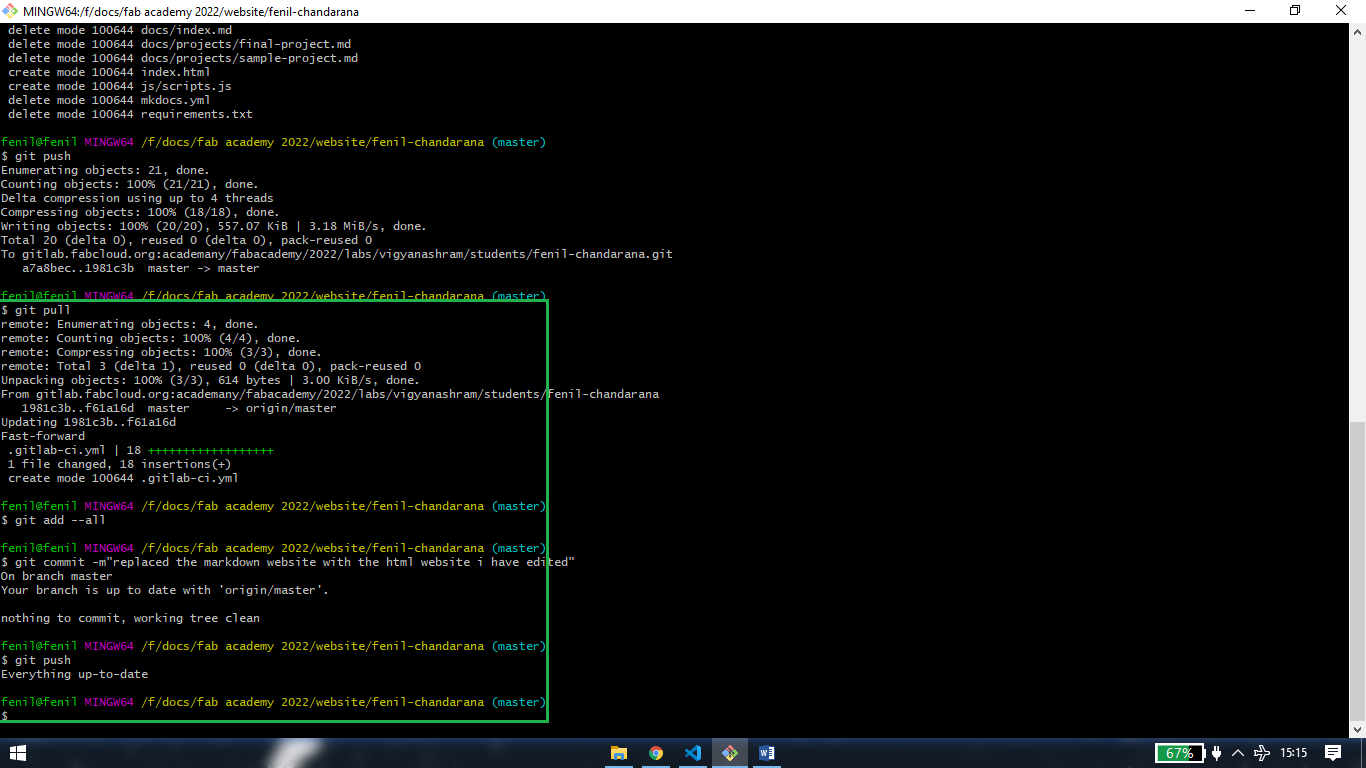
[2] add aml file into cloned folder
repeat the,
git pull
git add --all
git commit -m"message of edit"
git push
Learning Outcomes
This week i learned how you can download a free template for your website and later how you can make changes in the website according to your desire. I also learned about version control and gitlab, like how you can push your website online after making changes into your local repository.
Drip Irritation by Fenil Chandarana is licensed under Attribution-NonCommercial-NoDerivatives 4.0 International![]()
![]()
![]()
![]()